Uncover the true essence of CSS Margin and Padding as we dive into their functionalities and importance in web design. In this succinct article, we unravel the concepts of Margin and Padding, shedding light on their distinctions and clarifying common misconceptions. Whether you're a novice or an experienced developer, this article aims to enhance your comprehension of these fundamental CSS properties and empower you to utilize them effectively in your web projects
What is Margin and Padding?

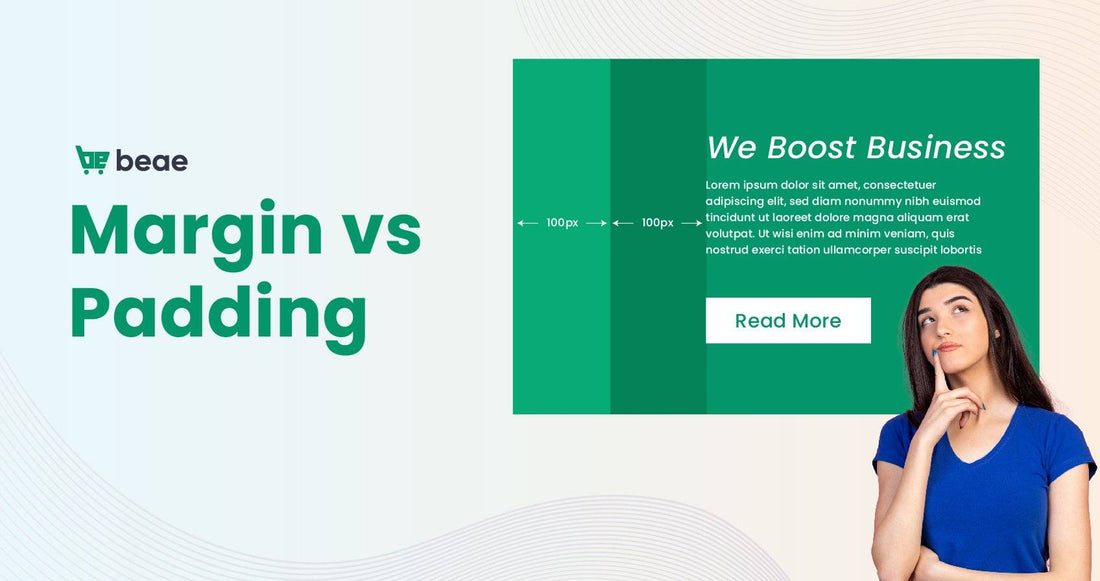
Margin basically refers to the area around an element such as the headline, navigation bar, image or body content on a sales page. It usually takes up the area around the content, exactly the space between the borders of two separate elements.
As part of the CSS box model, margin typically surrounds HTML features and can move an element to the top and bottom or left and right of a sales page. As expected, any space around an element is always transparent, which means that margins usually have no background color.
Margin is the space around the content area and you can easily use it when you want to increase the size of the content space by removing or adding more space around the elements.
Padding is the space between an element and all of its content. Think of it as the area between the border and the content element in your CSS box model.
It basically surrounds the image or text within a specific boundary, preventing them from touching the CSS box model or the border around it.
Unlike the margin property, padding can manipulate the space inside the container. That means you can use the margin to define how two or more elements sit and look inside the container. It usually shows specific background surrounding elements and is mainly affected by the background color.
Use it to create a space or void that will increase the size of the element or shrink the space inside. The best part is that you are free to change and use the margin as you like when designing your store pages.

Doing business on e-commerce platforms assures you that success and failure are all reflected in online store sales websites and they often create the first impression for your potential customers. for each targeted market. This is a way of offering, offering the services that you provide to customers, giving them consideration and is the first point before choosing to do business with you, and you only have a few seconds to impress them.
Most of the time in 2023 today, unattractive sales websites that do not improve to learn drastic changes from competitors as well as refresh themselves often do not have the opportunity to approach and impress. to potential customers and the risk of rejection from the market is very high.
Above we introduced you to the two main CSS properties, let's dive into the main differences between the two and see how margin and padding can help you customize and power the two. This attribute is intended to make you retain potential customers on your website.
Difference between Margin and Padding
In ecommerce website design, both margin and padding are often used to create more space or space. They typically target all four sides of page elements and can function similarly but still differently.
Now you can say that you can use margin to add spacing between elements and padding when you want to add space between the inner element and the styling box. It sounds easy, but in actual use, many customers naively confuse them and ultimately affect the user experience directly.

That's why we'll help you distinguish the main difference between margin and padding:
The padding is affected by the background color while the margin is not
The styling space created by padding or margin is mostly hidden. But when the background color is added to the mix, the padding usually takes over the element's color and becomes invisible.
On the other hand, the margin is mostly transparent and is not affected by the background color change. As a result, the padding tends to become more visible with the addition of a background color while the margin remains invisible regardless of the effect.
Margin can be set to auto while not possible with padding
One of the biggest challenges that developers and merchants who do business on Shopify using the page builder often face is centering an element. But this is not necessary as you can easily center any element using auto margin setting on any element with a fixed width or width if you want.
This way the setting will automatically center the element horizontally. Think of it as a helpful tip for developers just starting out. However, keep in mind that this does not apply during padding as it is not possible to set them automatically.
The Padding section controls the space inside while the Margin controls the space between the elements
We and you both agree that both margin and padding help control spacing in web page design. That is a remarkable common ground and the core point from which their main differences begin to manifest.
From the padding definitions often give developers the ability to control the space between the content of elements within a particular border. Also, margin determines the distance between the border and all the elements around it. In simpler terms, margin controls the spacing between elements while padding controls the space inside an element.
Padding part can ignore inline elements while Margin part can not
If you add padding to an inline element, changes will only occur to the right and left of the element, not its top and bottom. However, a similar margin setting will affect all four sides, including the top and bottom profiles.
Margin can be negative, while not with Padding
Developers often give return a negative value whenever they want different elements to overlap. Therefore, this setting often comes in handy when creating a truly beautiful web design.
Unfortunately, the padding value can only be positive. Attempting to give your padding a negative value will narrow your border to the content, shrinking the content area beyond the content size.
When to Use Margin and Padding
From a perspective, both margin and padding often seem to have the same special powers over web pages. But as we saw from the previous discussion, padding usually controls the space inside a border while margin controls the space outside. Therefore, padding in CSS mainly works to give other elements some breathing space from the outline of the border. In terms you can use padding to customize the space inside the border. Therefore, this will help make your content easier to read and make the page look better.
Otherwise, you can use margin to prevent all your visible elements from colliding with each other. For example, if you want to keep the content from overlapping the CTA buttons or vice versa, give them a margin to separate them. Doing so often adds more white space to web pages and improves the overall customer experience for those who visit your online store. But keep in mind that you can set a negative value if you want different elements to invade or overlap the space of other elements explicitly. Developers mainly do this to give an artistic impression to their clients.
Since different styling elements often behave differently with margin and padding, here are some helpful tips to keep in mind when choosing between the two:
Using padding:
- To prevent content from touching the edges of the container
- To increase the content block size without affecting the content size
- When you want more space between the inner element and the box
- If you want the space to reflect the background of the element
Using Margins:
- To add space around elements as for the case of photo captions
- To center an element horizontally
- Use negative margins to overlap elements
- To move an element up, down, right or left
We know that all of this can be too much for a newbie like you and if you want to familiarize yourself it is imperative that you get in and try it out for yourself, especially if you are completely new in the field. Sales website development. The good news is that there are plenty of page builders like the Beae Landing Page Builder that you can use to customize your store pages much faster and easier.
It is compatible with Shopify eCommerce platform, saves time, is completely Free and does not require any coding experience to use.
How to Add Margin and Padding
How to Add Margins in CSS
To add margins, inside the Beae Page Builder app editor, select elements such as images or text and select Advanced. There you will see all four aspects that need to be declared first to prevent them from colliding with each other. Those four indicators include:
- Margin Top
- Margin Right
- Margin Bottom
- Margin Left
The best part is that you won't have to set them all individually as each property allows you to set them all in one declaration. You can do so separately for those who may want other lengths or percentages for their returns. For example, you can use the code below to add 50 pixels to the top, 105 pixels to the right, 60 pixels to the bottom, and 120 pixels to the left of your margin:
Note that this effect will go around the element clockwise and keep in mind that to add a percentage in CSS it must be inline-sized of the parent box so all your margins are the same size.
However, one of the main problems with using margins is narrow margins, and this often happens when smaller margins overlap larger margins. A good example is when the bottom margin of your headline is closely followed by the top margin of a paragraph, they will collapse to combine.
Fortunately, you can use Block Formatting Contexts (BFCs) or Flexible Containers and Grids to prevent such cases from happening. For your convenience, you can easily control the space outside your container by using the margin on your Beae Page Editor to make the changes you want.
How to Add Padding in CSS
Like we did with margin, it's best to declare all padding properties first, especially when dealing with padding in CSS. Here is a standard procedure that mainly includes the declaration:
- Padding Top
- Padding Right
- Padding Bottom
- Padding Left
Here, every padding property usually has specific characteristics like percentage and length. But just like in margin, you can put them all in one declaration. For example, you can use the code below to add 33 pixels to the top, 22 pixels to the right, 55 pixels to the bottom, and 77 pixels to the left of the padding.
Note that this will also happen in a clockwise order around the element.
Additionally, you can quickly control the amount of space you want inside your containers by inserting only the desired declarative measures in the padding of your Beae Page Editor. That's it, everything is automated and you don't need to do any coding. But keep in mind the four important declarations i.e. left padding, top padding, right padding and bottom padding.
Summary
Now, when you know the difference between margin and padding and the functions how to use them and their strengths and weaknesses, you can use them while working on your website layout. Try and do it directly on the site you will be surprised with them.
So if you are a beginner in building a sales page on Shopify e-commerce platform, you want to save time and effort and control your entire sales page with no code, try Beae Landing Page Builder, a completely intuitive page builder with advanced features drag and drop design, doesn't limit anything in this one app. Customize your entire store, ready to meet every ideal you can think of and complete them in the most simple and scientific way. If you have any question, feel free to contact with Beae!